
Windows Defence Unit Description
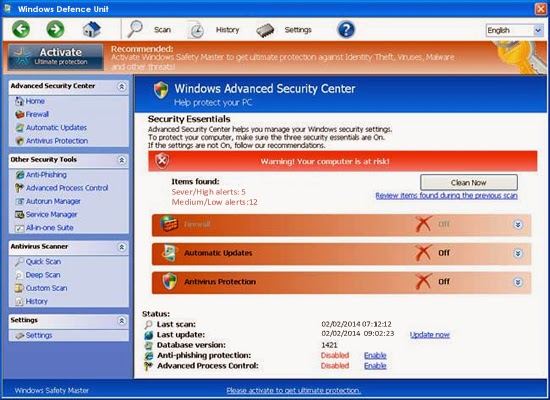
Windows Defence Unit can be classified as a fake anti-virus program which is able to damage your computer seriously. It invades your computer without any of your notice, and injects its own malicious files and registry entries to your system immediately when it comes to your computer. Start-up items will be changed to being activated with the system booting.
Windows Defence Unit rogue program scans your computer automatically whenever you boot up your PC, and displays many computer threats to users, saying that you need to remove all those so-called viruses with Windows Defence Unit. However, if you click Clean Now, you are asked to purchase the Windows Defence Unit rogue program. Users may have been scared by those infections, but all those viruses are created to scare users. In another word, these threats are inexistent in your PC, while the real virus is Windows Defence Unit itself. If users purchase this rogue program, other viruses or malware can be installed to your compromised computer, and your financial number may be revealed to hackers or designers of this rogue program.
Windows Defence Unit corrupts your system files and programs files, which disables your system functions and messes up your programs running. Users are recommended to uninstall Windows Defence Unit as soon as you can to protect your system.
.jpg)
How to Remove / Uninstall Windows Defence Unit
Method one: manually remove Windows Defence Unit rogue program.
Step 1: Boot your infected computer into Safe Mode with Networking
(Reboot your infected PC > keep pressing F8 key before Windows start-up screen shows>use the arrow keys to select “Safe Mode with Networking” and press Enter.)
Step 2: Press Ctrl+Alt+Del keys together and stop Windows Defence Unit processes in the Windows Task Manager.
Step 3: Open the Registry Editor, search for and delete these Registry Entries created by Windows Defence Unit.
(Click Start button> click "Run" > Input "regedit" into the Run box and click ok)
HKEY_LOCAL_MACHINE\software\microsoft\Windows NT\CurrentVersion\Image File Execution Options\msmpeng.exe
HKEY_LOCAL_MACHINE\Software\microsoft\Windows NT\CurrentVersion\Image File Execution Options\k9filter.exe
HKEY_CURRENT_USER\Software\Microsoft\Windows\CurrentVersion\Policies\Attachments "SaveZoneInformation" = 1
HKEY_CURRENT_USER\Software\Microsoft\Windows NT\CurrentVersion\Winlogon "Shell" = "%AppData%\svc-<random>.exe"
HKEY_LOCAL_MACHINE\SOFTWARE\Microsoft\Windows\CurrentVersion\policies\system "ConsentPromptBehaviorAdmin" = 0
Step 4: Detect and remove Windows Defence Unit associated files listed below:
%AppData%\svc-<random>.exe
%AppData%\data.sec
%UserProfile%\Desktop\Windows Defence Unit.lnk
%AllUsersProfile%\Start Menu\Programs\Windows Defence Unit.lnk
Method two: automatically remove Windows Defence Unit rogue program with SpyHunter.
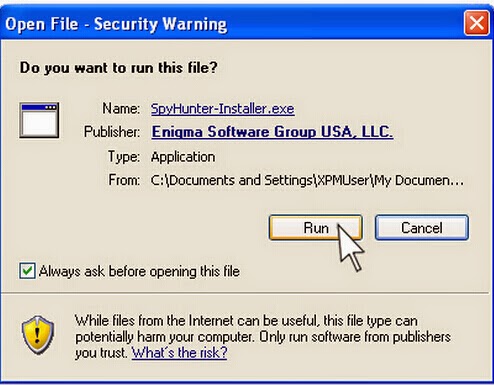
Step one: Download Spyhunter antivirus program by clicking the icon below;

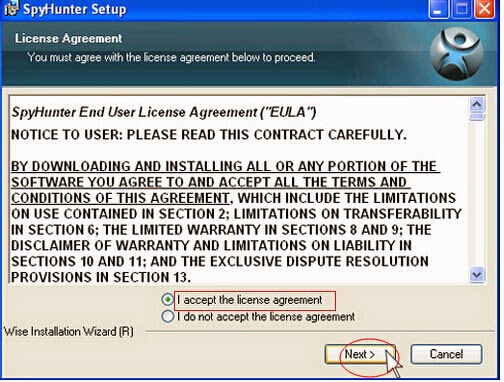
Step two: Click on Download, and then install SpyHunter on your computer by following the hints step by step.
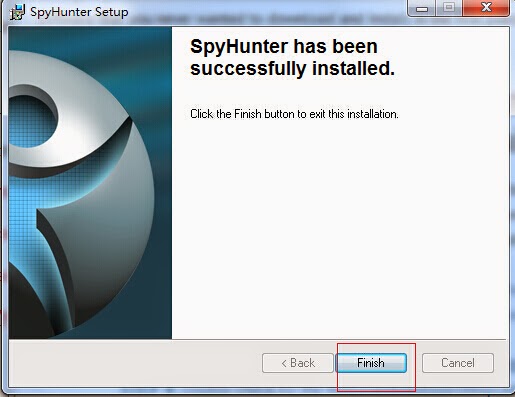
Step three: Do a full scanning and then remove every threats caused by Windows Defence Unit rogue program.

Notes: Automatic removal with SpyHunter is more effective than manual removal. In addition, manual removal is too difficult to handle. So I strongly advise using SpyHunter to remove Windows Defence Unit rogue program. SpyHunter , a well-known anti-virus program, is designed specifically to remove different kinds of virus and protect computers daily.
No comments:
Post a Comment